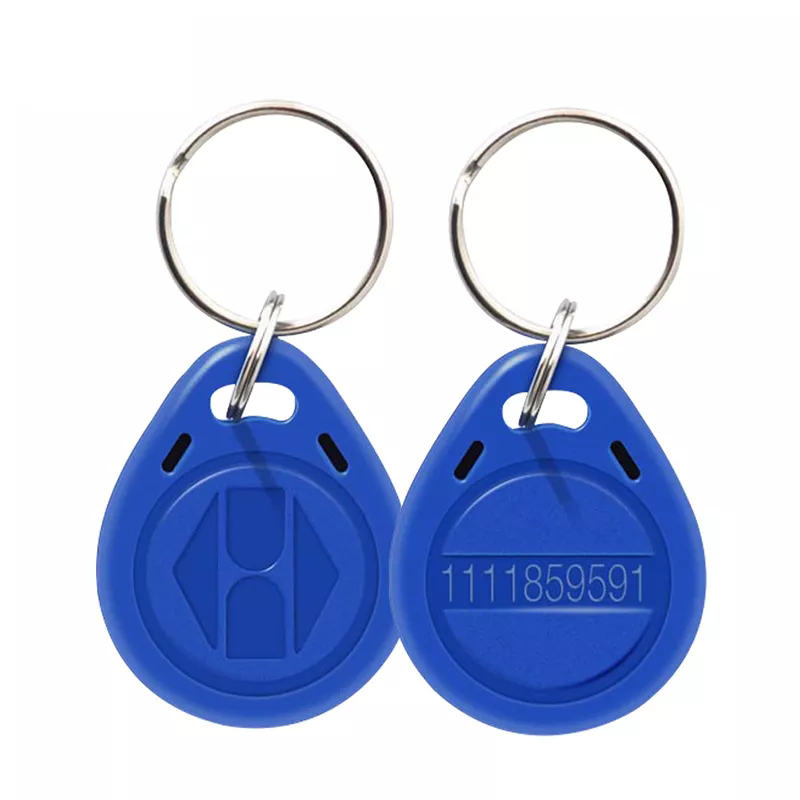
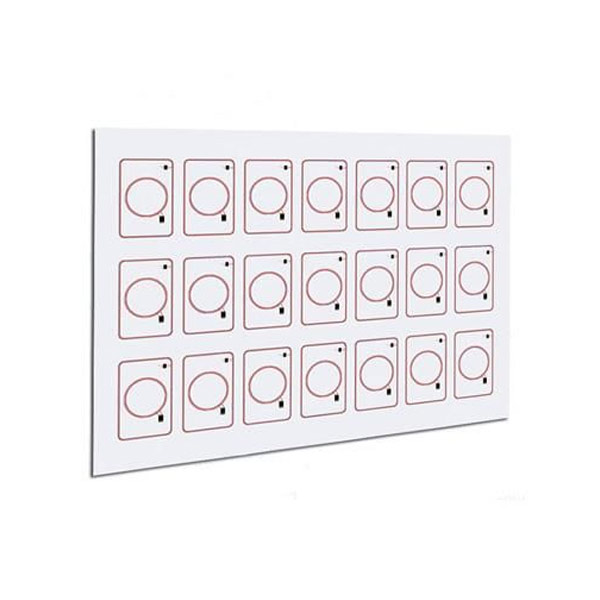
Do not understand the market, thought the production of keychain card is the JGP format, used to print on it, but, in fact, not so simple, to go through the process of more than 10 processes, before the keychain card production out, the following, I will tell you, VIP card / keychain card and so on the first process of the card, design VIP card keychain card Photoshop practical skills.
Keychain card simple Photoshop design practical skills
Photoshop design keychain card practical skills, the
1. Quickly open the file
Double-click on the background of Photoshop blank (default gray display area) to open the browser window to select the file.
2. Change the canvas color at will
Select the Paint Bucket tool and hold Shift to click on the edge of the canvas to set the canvas base color to the currently selected foreground color. If you want to revert to the default color, set the foreground color to 25% grayscale (R192, G192, B192) again hold Shift and click on the edge of the canvas.
3. Selection tool shortcut keys
You can quickly select a tool in the toolbox by pressing the shortcut keys, the letter shortcut keys for each tool are as follows:
Frame - M Move - V Lasso - L Magic Wand - W
Gun - J Brush - B Pencil - N Rubber Stamp - S
History Brush-Y Eraser-E Blur-R Lighten-O
Pen-P Text-T Metric-U Gradient-G
Paint Bucket-K Straw-I Grabber-H Zoom-Z
Default foreground and background color-D Toggle foreground and background color-X
Edit mode switch-Q Display mode switch-F
In addition, we can cycle through the hidden tools if we hold down the Alt key and then click on the displayed tool icon, or if we hold down the Shift key and press the letter shortcut repeatedly.
4. Getting a precise cursor
Press Caps Lock to make the cursors of the Brush and Magnetic tools appear as exact crosshairs, and press again to return to their original state.
5. Show/Hide Control Panel
Press Tab to toggle to show or hide all control panels (including toolbox), if you press Shift+Tab the toolbox is not affected, only the other control panels are shown or hidden.
6. Quickly restore the defaults
Some friends are not good at Photoshop in order to adjust the effect of satisfaction is really a lot of trouble, but it turns out that the original default effect is still the best, then dumbfounded, regret should not be the first ah! How to restore to the default value? Try to gently tap the tool icon on the options bar, and then select "Reset Tools" or "Reset All Tools" from the context menu. 7.
7. Free control of size
The shortcut key for the zoom tool is "Z", and "Ctrl + Spacebar" for the zoom in tool, "Alt + Spacebar" for the zoom out tool, but only when you click with the mouse. Zoom; the same press Ctrl+"+" key and "-" key can also zoom in and out the image respectively; Ctrl+Alt+"+" and Ctrl+Alt+"-" can automatically adjust the window to display at full screen zoom, so you can use this tool to view images at full screen no matter how many percent they are displayed! If you want to automatically resize the window to the size of the image when using the zoom tool, you can click the "Full Canvas Display" option in the properties bar of the zoom tool. 8.
8. When using the non-Hand Tool, press and hold the spacebar to convert it to a hand tool, which moves the visible range of the image in the viewport. Double-click the mouse on the Hand Tool to display the image in the most suitable window size, and double-click the mouse on the Zoom Tool to display the image in a 1:1 ratio.
9. When using the Erase Tool, hold down the Alt key to toggle the eraser function to revert to the specified step record state
10. When using the Smudge Tool (Fingertip Tool), press and hold the Alt key to change from pure smearing to smearing with the foreground color.
11. To move the selection range of glyphs typed using the Type Mask Tool (Text Mask Tool), switch to Quick Mask mode (switch with the shortcut Q), then move, and then simply switch back to standard mode when you are done.
12. Hold down the Alt key, use the Rubber Stamp Tool (Rubber Stamp Tool) in any open image window, click the mouse, you can set the sampling position in the window, but will not change the role of the window.
13. In the use of Move Tool (Move Tool), you can press the arrow keys on the keyboard to directly move the image on the layer at a distance of 1 pixel, if you first hold down the Shift key and then press the arrow keys to move the image at a distance of 10 pixel each time. Pressing the Alt key to drag the selection will move a copy of the selection.
14. When using the Magnetic Lasso Tool or Magnetic Pen Tool, press the "[" or "]" key to increase or decrease the sample width in real time (in the Options palette).
15. The Measure tool is very convenient for measuring distances (especially on diagonal lines), and you can also use it to measure angles (like a protractor). With the information panel visible, select the metric tool to click and drag a line, hold down the Alt key and drag a second line from the node of the first line, so that the angle between the two lines and the length of the line are displayed in the information panel. Drag with the Measure tool to move the measurement line (or just move one node of the measurement line alone), and drag the measurement line outside the canvas to remove it.
16. use drawing tools such as (such as the brush, to the pen, etc.), hold down the Shift key and click the mouse, you can click twice to connect the points with a straight line.
17. Hold down the Alt key and use the Straw tool to select a color to define the current background color. Monitor the color change of the current image by combining the Color Sampler tool (Shift+I) and the Info panel. The color values before and after the change are displayed in the Info Panel next to their sampling point numbers. The pop-up menu in the Info panel allows you to define the color mode of the sampling points. To add a new sampling point simply tap again anywhere on the canvas with the Color Sampler tool and hold down the Alt key and click to remove the sampling point. However, only a maximum of four color sampling points can be placed on a picture. When Photoshop has a dialog box (for example: color scale command, curve command, etc.) pop-up, to add a new sampling point must hold down the Shift key and then click, hold down Alt + Shift click can subtract a sampling point.
18. crop tool we must have used, you must have encountered this situation; in you adjust the crop grip, and the crop frame and closer to the image border, the crop frame will automatically stick to the edge of the image, so you can not accurately crop the image. But as long as the "Ctrl" key is pressed while adjusting the crop border, then the crop box will be obedient, allowing you to crop accurately.
Hold down the Ctrl+Alt keys and drag the mouse to copy the current layer or selection contents. 20.
20. If you have recently copied a picture to the clipboard, Photoshop will use the size of the picture in the clipboard as the default size of the new image when creating a new file (Ctrl+N). To skip this feature and use the previous setting, hold down the Alt key (Ctrl+Alt+N) while opening.
If you create a new work, you need a file with the same size, resolution, and format as an already opened image. Select "File" → "New", tap the Windows option in the Photoshop menu bar, and click the name of the opened image in the bottom column of the pop-up menu, yes, its that easy!
22. use the free transform tool (Ctrl + T) when holding down the Alt key (Ctrl + Alt + T) to first copy the original layer (in the current selection) and then transform on the duplicate layer; Ctrl + Shift + T to perform the last transformation again, Ctrl + Alt + Shift + T to copy the original image and then perform the transformation.
23. Use the "New Layer by Copy (Ctrl+J)" or "New Layer by Cut (Ctrl+J)" command to complete the work of copy to paste and cut to paste in one step; when pasted by the Copy (Cut) New Layer command The new layer will still be placed in their original place, but by copying (cut) and then paste, it will be pasted to the center of the picture (or selection). 24.
24. to copy the image directly without the naming dialog box, you can hold down the Alt key, and then execute the "Image" → "Copy" command. 25.
25. Photoshops clipboard works well, but youd prefer to use the Windows system clipboard to work directly with images taken from the screen. Okay, press Ctrl + K, in the pop-up panel will be "Input


